
Reversing a Video is easy, right click on your video clip, Click speed/Duration, then check the box marked “reverse speed”. Press Okay and you have reversed Your Video!
Either watch this video, or read on to break it down further.
Step 1 – Select your Video/Clip
Common sense I know but make sure you have selected you have selected the right clip. You can change multiple clips by selecting two at once.
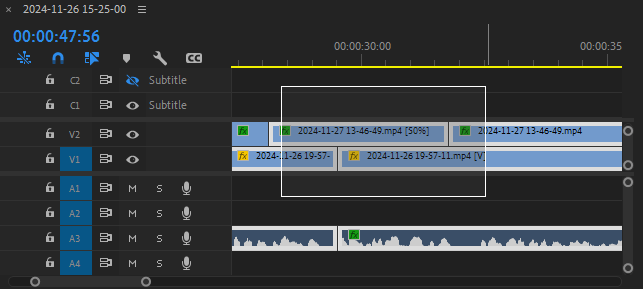
To Select Multiple clips, simply drag your mouse over the clips, creating this box.
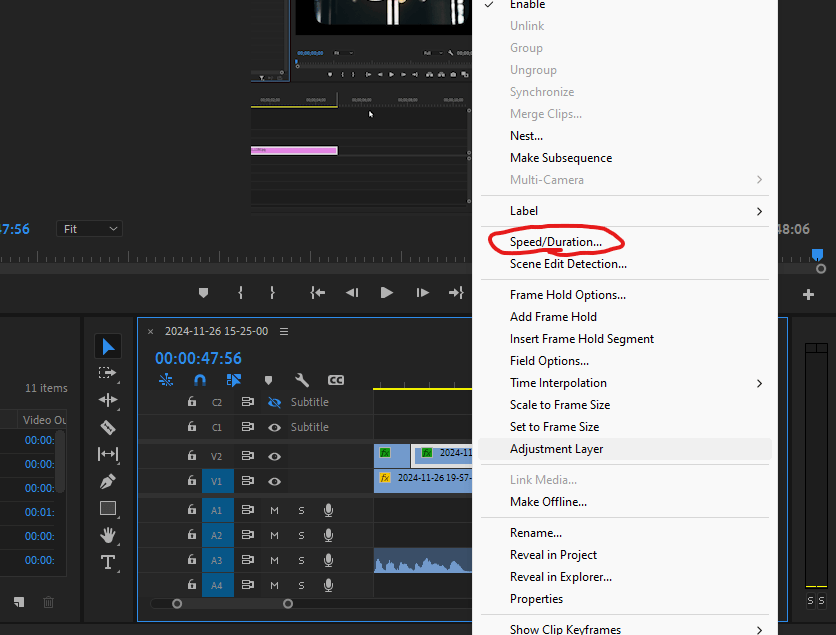
Step two – select speed/duration
once you have your clip Highlighted, simply right click, popping up a menu, then select Speed/Duration.
Step 3 – Apply reverse Speed
You can change a few options here, such as speed of your video. We want the reverse speed option.
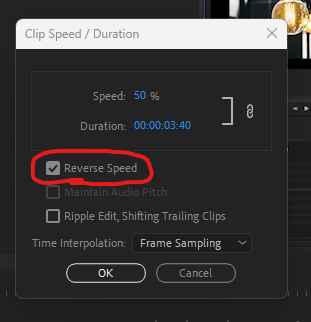
Make Sure the Reverse Speed Box is checked (As Shown here).
After this simply press OK to save your changes, and you have successfully reversed video In Adobe Premiere Pro!
Thank you very much for taking time to read my little old blog, Have a great rest of your day!

Leave a comment