
The Top Ten effects In Premiere Pro are: Zoom, DeNoise, Gaussian Blur, Fade In/Out, Ultra Key, Surround Reverb, Dissolve, Gain, Warp Stabilizer and Remix Tool. Using these 10 Effects will bring your videos to the next level and make them that much better.
If You would like a Video Outlining these Effects then see the Video Below, If not then Read On!
Videos Are Great, No Questions about that, But do you know whats better than a Video? An Edited Video, What’s even better than an edited video? A well Edited Video.
These Ten effects are a great starting point to make your videos that much better, More Professional and just downright more fun. Whilst I have included a nice blend of essential/cool, none of these should slip your Mind.
1. Zoom
Ahh the zoom, such a staple of cinema and video. Want to Add suspense? Zoom. Want to add humour? Zoom. Want to just spice up your video? ZOOM!
Truth is a video that keeps the same shot all throughout, is boring. So to combat this you need to “Spice” up your video anyway you can (No I’m not talking about page 3 Models.) The Easiest way to do this is through zoom. In fact A zoom doesn’t even need to be shot anymore, Thanks to modern Editing Software, A zoom can be added in much later on in the production process, Plus It’s Very simple too!
So In short if you want to spice up your shot, and don’t know how, Chuck in a Cheeky Zoom.
2. DeNoise
We are Moving from a simple one, To a downright Boring One, DeNoise is simply Boring There is no getting around that. But What it lacks in entertainment it makes up for in Necessity.
Truth is, whilst in the real world the first thing people notice is your look, There is a case to be made that online it is your sound. Nothing will get people to click off you video faster than Bad sounding Audio, This is Why Denoise is your friend.
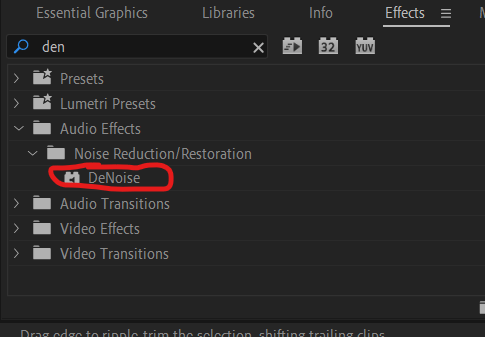
Chances are, wherever you shoot your Video there is going to be Noise, whether its the birds outside, a clock ticking, Builders … Noises Happen, but how often do you notice these noises when you are watching Youtube? Almost never right? It’s Because of DeNoise, If you have a noisy computer simply add the Denoise Effect to your audio and Poof! It’s Gone!
(Be careful how much Denoise you put on, as excessive amounts can cause your actual voice to sound very strange.)
3. Gaussian Blur
Now every single time I type Gaussian Blur into my effects panel, I spell it wrong. Despite it being Bloody difficult to spell it is still a great effect, and to be honest a very Useful one too!
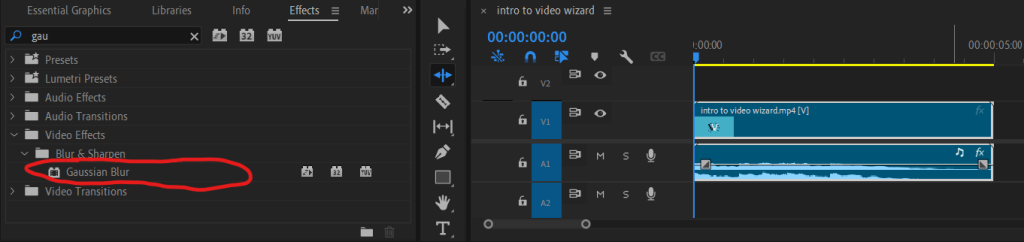
On the surface, Gaussian Blur seems like a simple blur tool. Censoring and Basic blur is easy with this tool (almost like it was made for it!) But it is what Gaussian Blur can combine with that really elevates it above “just a Blurring effect”.
For Example My Favourite use of the Gaussian Blur tool is with “Luma Key”. Essentially the luma key is adjusted to pick up only the brightest parts of your video, and gaussian blur is applied on said parts. Creating a Great Glow effect on the lights of your shot!
If you want an Effect that’s Great “Bang for you Buck”, It’s Gaussian Blur
4. Fade In/Fade Out
Well, there is no point in lying here, Fade in and Fade out is basic, I mean really basic, I would describe it as a “preventing you from looking bad” Rather than “Adding to your edit.”
Chances are you already know what it is, it simply fades your music, Whether that’s at the beginning, the end or well … I guess it’s just the middle left. Look, its just good practice to use it. If your music starts suddenly it sucks, its Unprofessional and most importantly your viewer is going to think your a bad editor.

So just use them!
It’s a simple drag and drop, nothing complex. It also smooths out your edit making your viewer that much more comfortable!
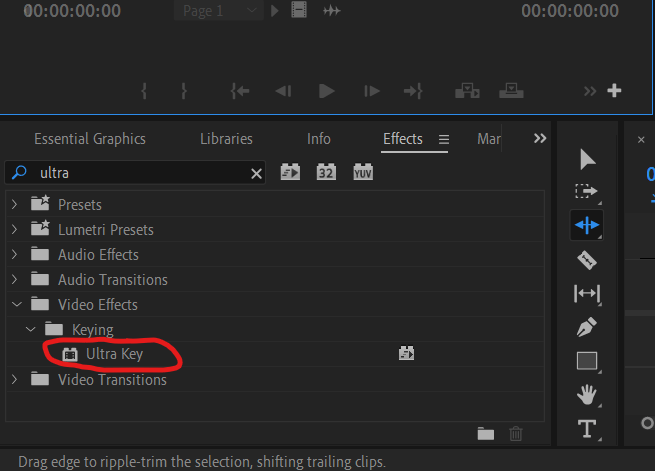
5.Ultra Key
GREEN SCREEN! it’s the green screen effect! Who doesn’t want to be In the foot of a Volcano, High above the clouds or deep under the sea!
I don’t need to sit here explaining what a green screen is, you already know. Green screens are a great Budget way to make your video more interesting. It doesn’t have to be you in space, it could just be graphics behind you, it is just a cool effect you should definitely try out!
Think of it like this, if the big movies use them, why not use them too?
6. Surround Reverb
You may never even use this, That’s just me being honest. I said these were a mix of useful and cool, this falls into the later camp.
Pretty much Surround Reverb makes you sound “elsewhere”, whether that is a warehouse, cathedral, big room, theatre you choose.

Premiere Pro has a great selection of Pre-sets, even an old time radio if you would like!
The reason I like this Effect so much is because it’s just so easy to use, I mean you can literally just click a pre-set and it will do all the work for you, You are just a drag and drop away from sounding however you want. It is very simple so use, but you can adjust the effects however you see fit creating a “custom sound” to make sure everything is perfect!
As a beginner it is also a great way to see the power of Premiere Pro, It really is amazing software, Plus your viewers don’t need to know how easy it was for you do get a cool effect…
7. Dissolve
First things first you are welcome, I have separated this effect from Fade in / out. I fear you may have died of boredom having these two next to each over. I guess what I’m trying to say is this effect is another boring but necessary one.

Dissolves are transition pieces really, simply a fancy effect sandwiched between one shot and another, they are effective at “jazzing up” your edit. The sad truth about these effects, is that if done well no-one will notice, But done badly everyone will notice. So If you want to make your edit seem smoother and I guess less “disjointed” then Dissolves are great, they almost stitch the edit together.
If you aren’t already aware, a Dissolve is pretty much when one clip “Dissolves” into the next, Instead of a sharp cut.
Before you go gung ho on Dissolves, remember those cheesy video’s your school, workplace or great aunt made at the end of the year? Do you know why they were so cheesy? Too Many Dissolves. So Please, Please, Please make sure you are careful and don’t make your edit Cheesy!
8. Gain
Gain, Gain, Gain what is it? it’s pretty much how loud you sound in your video. Little too quiet? Up the Gain. Little too loud? Lower the Gain. It doesn’t exactly take a genius to figure it out.
Truth being Told there isn’t much to write about gain, I have summed it up in the paragraph above, I will Add that for your video, you want the Gain to be between 6-12 Db, This will Ensure your viewer doesn’t have to adjust Volume to watch your clip.
Truth is the viewer will click off your video rather than adjust the volume to your video.

My final Point on Gain is a warning, Don’t rely on it too much! the more you adjust your gain the worse your audio will be, so make sure you record your audio well!
9. Warp Stabalizer
We are really speeding things up now. These effects are a lot easier to summarise, or maybe I’m simply growing restless? either way, Warp Stabilizer is a very very useful effect (under certain conditions.)
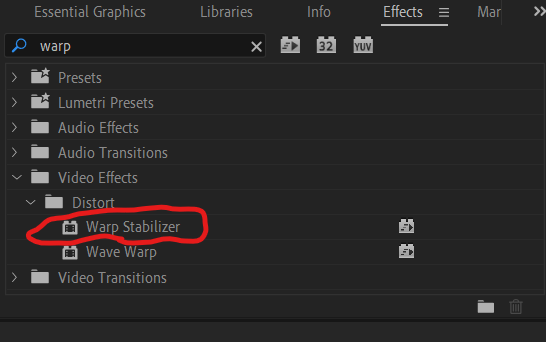
Warp Stabilizer will be your best friend if you are filming outside, Or even if you just have a dodgy tripod, Because it simply stabilizes shaky footage. Shaky footage looks bad, really bad, no one will sit there watching a clip that looks like it was filmed during a hurricane. So simply drag and drop the warp stabilizer tool on your video, and Premiere Pro will do the rest, You made need to adjust it afterwards but chances are your footage will be a lot better!
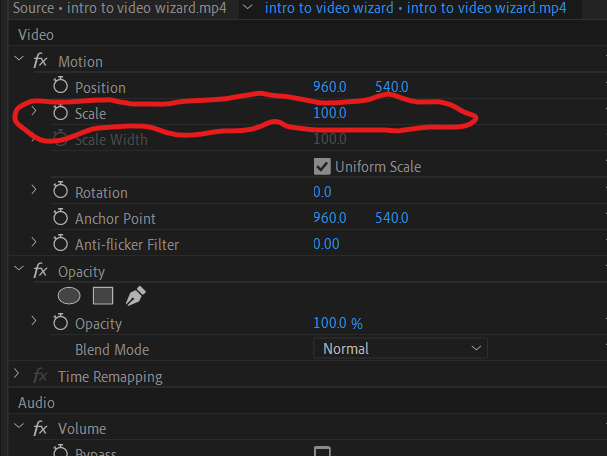
Sometimes, when using this effect, you will need to adjust the scale. Zooming in a little bit will stop any chance of black background clipping into the frame!
10. Remix Tool
If you are still here I have a treat for you! In fact i have saved the best until last.
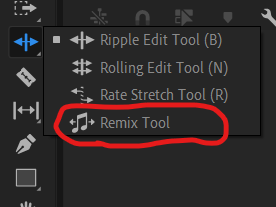
shhh! don’t tell anyone but this isn’t even an effect!
Ever wanted to add backing music to your video, only to find out the video is much shorter than the music? It sucks. I bet you cut the music and fade out the audio, sure it sounds okay but it kind of looses the flow of the whole song, I know this because I used to do it. What do I do now? I use the remix tool, essentially the remix tool will shorten my music down and keep the whole flow of the song.
Don’t ask me how it does it, I have no Idea, all I know is that the remix tool sounds so much better than that hack and slash end I was doing before, In fact i used the remix tool on A homemade video, it managed to shorten Born in the USA down from 4:38 to 2:00, and no-one would even notice.
When I say it works wonders I Mean it!
There we have it!
10 of my personal favourite effects in Adobe Premiere Pro, I hope you have as Much fun Using them as I do, Now go and use them !
Thankyou very much for taking the time to read my little old blog, I hope you have a great rest of your day!

Leave a comment